
This video tutorial recaps everything you need to do to group layers together and save it asa a picture. Refer to Drawing tools (above) for additional help).
POWERPOINT 2016 Custom Backgrounds By D. Raukar
Learning target:
I can demonstrate features within various media applications and formats. (Grouping, layering, cropping, modify page layout, format shape, margins, etc.)

|
|

|

|
|
|
|

TEXT BOX NINJA
PowerPoint Style |
Group, save layers as a picture
|
This video tutorial recaps everything you need to do to group layers together and save it asa a picture. Refer to Drawing tools (above) for additional help).
|
|
Google Classroom
Announcement: Practice session tutorial Links for project. Click this link for additional help. You may use your Chromebook for this part. Do the PowerPoint activity on your Desktop computer and watch the tutorials with your Chromebook.
NOTE: If you are having major problems with your project, AFTER you read the tutorials and watch the videos, you may work on Pivot Stickfigure project. DO NOT do this until you are done. Your final test for grouping is next week
NOTE: You do not have to do the CROPPING exercise until I come back to class.
Practice session tutorial Links for project. Click this link for additional help. You may use your Chromebook for this part. Do the PowerPoint activity on your Desktop computer and watch the tutorials with your Chromebook.
NOTE: If you are having major problems with your project, AFTER you read the tutorials and watch the videos, you may work on Pivot Stickfigure project. DO NOT do this until you are done. Your final test for grouping is next week
Tutorial Link
Use the attached PowerPoint (Click the DOWN arrow to load). It will load in your DOWNLOAD folder (Computer...Download). Use this to do the activities. There was a problem loading this, so if you do not receive a copy through Google Classroom, there is an email with the assignment attached.
TURN IN: You will have FOUR pictures: the 2 fish (or what you changed them into) AND the eyeballs. You will also have a FOURTH picture that you show you cropped the picture and removed the background.
FINAL: Black Day December 14th and Silver Day December15th
NOTE: If you are having major problems with your project, AFTER you read the tutorials and watch the videos, you may work on Pivot Stickfigure project. DO NOT do this until you are done. Your final test for grouping is next week
NOTE: You do not have to do the CROPPING exercise until I come back to class.
Practice session tutorial Links for project. Click this link for additional help. You may use your Chromebook for this part. Do the PowerPoint activity on your Desktop computer and watch the tutorials with your Chromebook.
NOTE: If you are having major problems with your project, AFTER you read the tutorials and watch the videos, you may work on Pivot Stickfigure project. DO NOT do this until you are done. Your final test for grouping is next week
Tutorial Link
Use the attached PowerPoint (Click the DOWN arrow to load). It will load in your DOWNLOAD folder (Computer...Download). Use this to do the activities. There was a problem loading this, so if you do not receive a copy through Google Classroom, there is an email with the assignment attached.
TURN IN: You will have FOUR pictures: the 2 fish (or what you changed them into) AND the eyeballs. You will also have a FOURTH picture that you show you cropped the picture and removed the background.
FINAL: Black Day December 14th and Silver Day December15th
Practice Activity:
You may use this slide show to review your practice activity today. You need to change the gradient or picture fill of the 2 fish slides 1 and 3. You must group them together. CTRL-A (or CTRL-click) or click and drag over the layers. CTRL-G and Right click Save as picture.
Where do I fill my layers? Draw Tool...Fill (paint can). Click picture OR Gradient...More Gradient and adjust the colors.
NOTE: Slide 1: You need to UNGROUP the picture BEFORE you do the layers.
How do I ungroup? Click the fish (or picture). Right click/Grouo...UNGROUP. When you have finished, you may group it and save it.
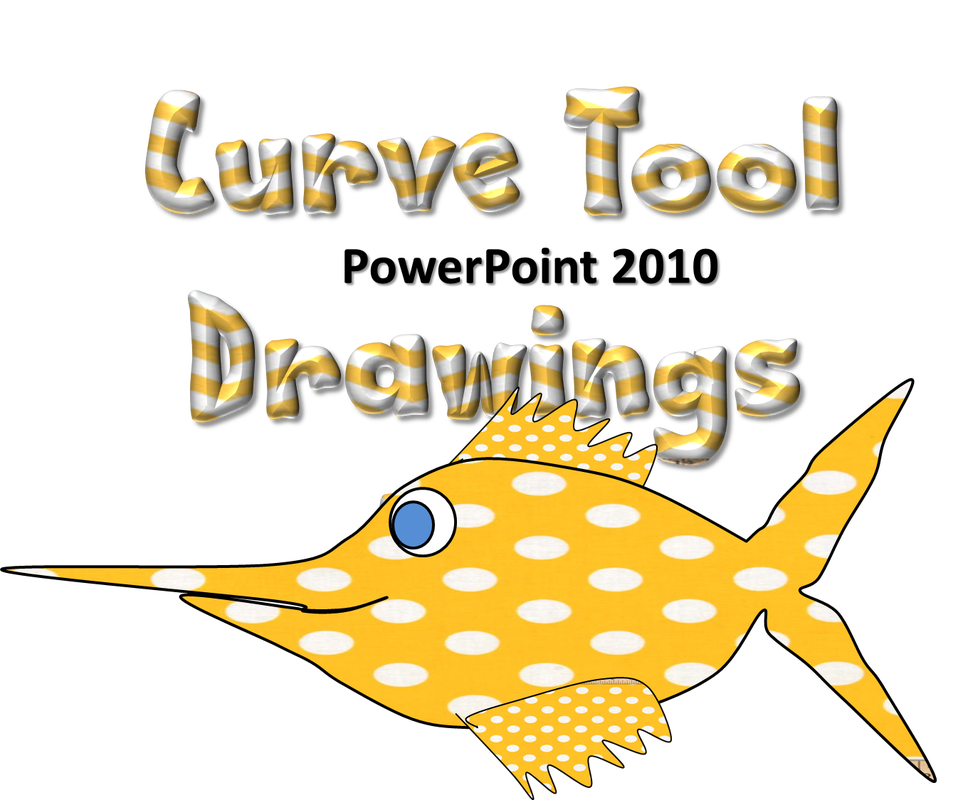
How do I change the shape of the fish like I see on slide 2? Click the image you want to adjust, RIGHT CLICK/Edit Points. Adjust the points to make the changes.
NOTE: What should you do If you are having problems with your current project? Watch the videos on this page, share with a neighbor, look at the slides on this page as well. Please practice to prepare for you final test.
NOTE 2: There are additional slides that were not loaded previously on Google Classroom. If you are having problems with your slide, you can reload the project
Where do I fill my layers? Draw Tool...Fill (paint can). Click picture OR Gradient...More Gradient and adjust the colors.
NOTE: Slide 1: You need to UNGROUP the picture BEFORE you do the layers.
How do I ungroup? Click the fish (or picture). Right click/Grouo...UNGROUP. When you have finished, you may group it and save it.
How do I change the shape of the fish like I see on slide 2? Click the image you want to adjust, RIGHT CLICK/Edit Points. Adjust the points to make the changes.
NOTE: What should you do If you are having problems with your current project? Watch the videos on this page, share with a neighbor, look at the slides on this page as well. Please practice to prepare for you final test.
NOTE 2: There are additional slides that were not loaded previously on Google Classroom. If you are having problems with your slide, you can reload the project
|
|
ABOUT
|
Drawing in PowerPOint by D. Raukar-Group it
|
Do you know which fish
is best at grouping in PowerPoint? Why it's the GROUPER, of course! |
|